
How to List Your Room on RumyFi: Step-by-Step Tutorial
See the real RumyFi listing flow and create your room listing in five clear, visual steps.
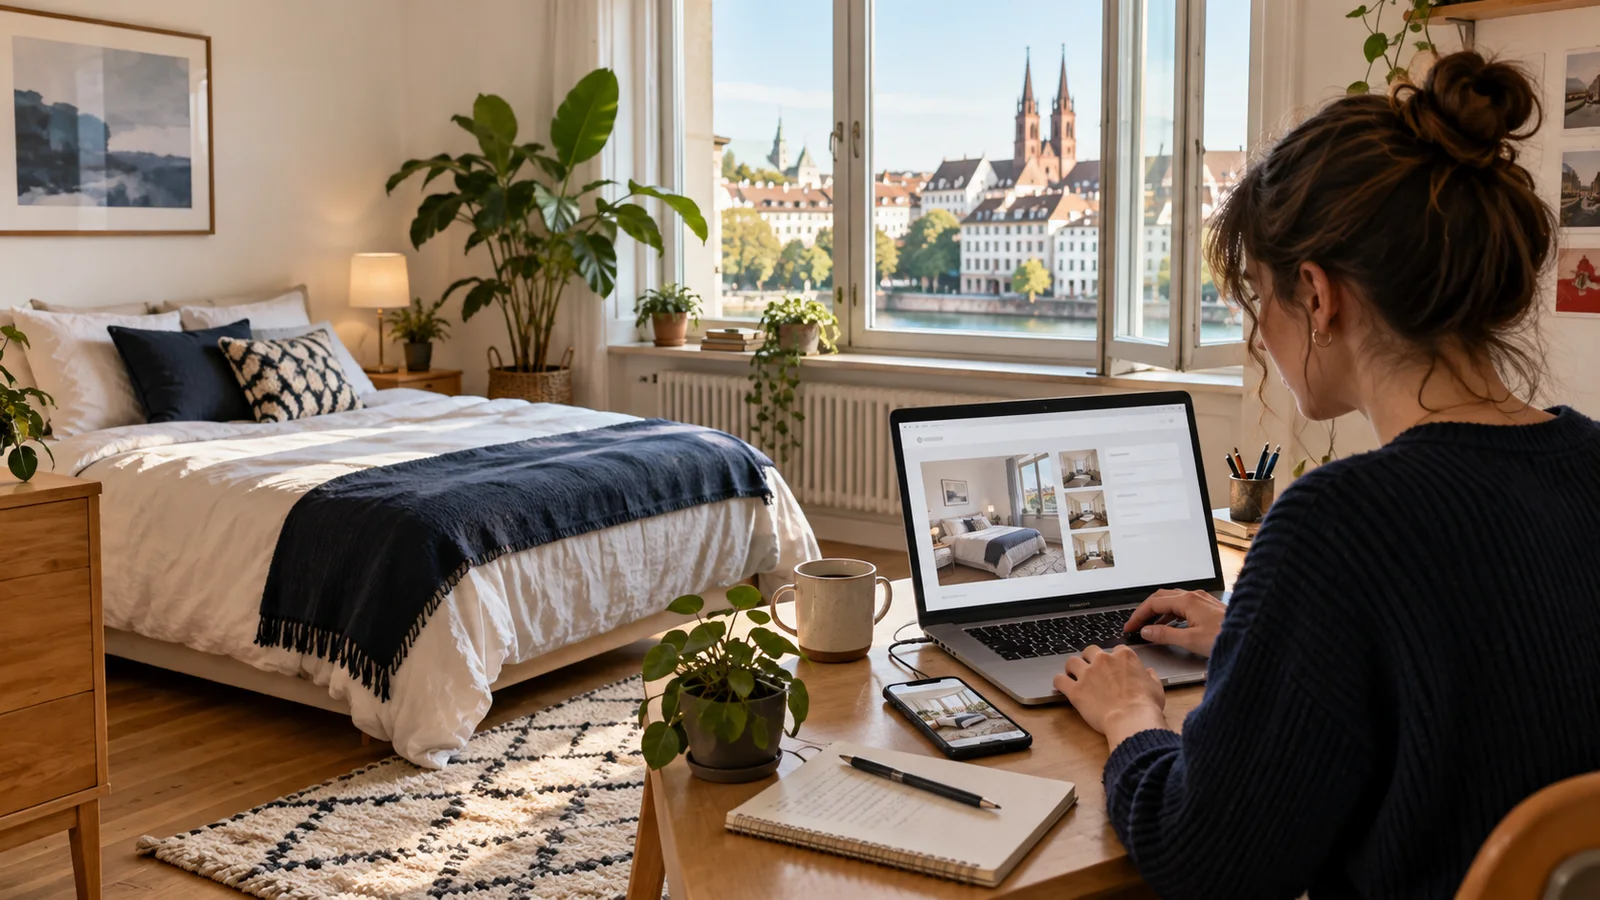
Create your room listing in five steps
The screens below show the actual RumyFi listing flow. Your entries are saved as you go, and you only need an account when you are ready to submit.
1. Add the basics
Give the listing a clear title, describe the room, and choose the property and room type.

2. Set rent and availability
Enter the monthly rent, costs, deposit, move-in date and minimum stay. Not sure about the rent? Use the free Basel WG room rent estimator.

3. Add the location and amenities
Enter the full address for management. The public listing shows only the safe public location. Select the amenities that are actually included.

4. Describe the household
Add optional house rules and explain who would feel at home. Confirm the contact email and phone number taken from your profile.

5. Upload photos and review
Add up to 10 room photos, choose the cover, check the summary and submit only when everything is correct.

Ready to list your room?
Open the RumyFi listing builder. If you start as a guest, your draft stays saved while you create an account or sign in, and you return to the final step before submitting.

Subletting a Room in Switzerland: A Practical Checklist
What a main tenant should prepare before offering a room: consent, conditions, price, inventory, applicant information and written records.
Read article
Utilities and Monthly Costs for a WG Room in Basel
A clear framework for presenting rent, utilities, internet, cleaning and the deposit in a Basel room listing.
Read article
Furnished or Unfurnished? How to Offer a Room in Basel
Compare demand, setup, maintenance and pricing before deciding whether to offer a Basel WG room furnished or unfurnished.
Read article